
Iron Nest Walkthrough & Tactical Guide: Missions, Firing Solutions & Triangulation
Welcome to the central command hub for IRON NEST: Heavy Turret Simulator. Whether you are stuck on Counter-Battery timers, missing moving railway trains, or solving multi-station triangulation geometry, this complete guide provides precise firing solutions, operational protocols, and verified mission routes.
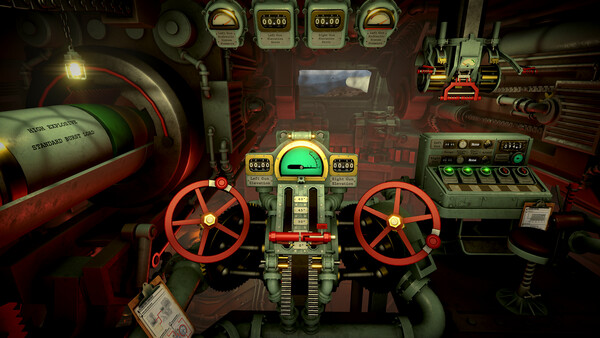
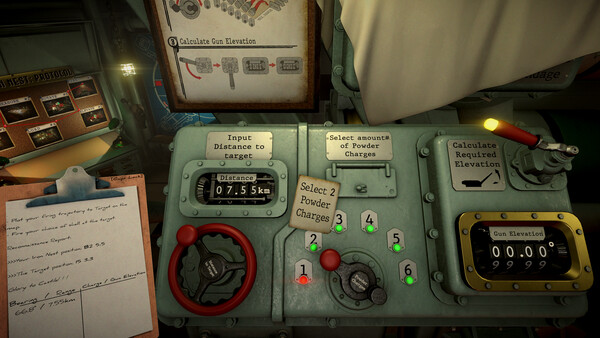
Core Iron Nest Solution Protocol TL;DR EXECUTION
Iron Nest is solved through strict sequential discipline: Read → Locate → Calculate → Prepare → Fire → Confirm.
- ✓ Never copy a spotter bearing directly into the turret. A spotter bearing establishes a line of position; the final turret bearing must be drawn from Iron Nest to that target.
- ✓ Calculate before touching the gun. When under Counter-Battery Timer (CBT), prepare firing cards for multiple targets before pulling the trigger.
- ✓ Emergency movement invalidates all previous firing solutions. If Iron Nest moves, the firing origin shifts and requires fresh bearing and elevation calculations.
§ Campaign Operations Roadmap
Linear combat escalation from introductory calibration fire to multi-branching strategic finales.
M01
M02 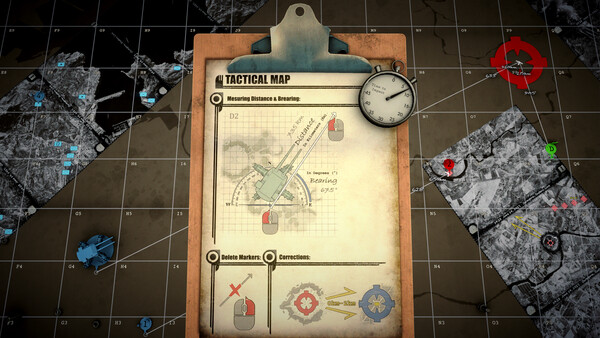 M03
M03  M04
M04 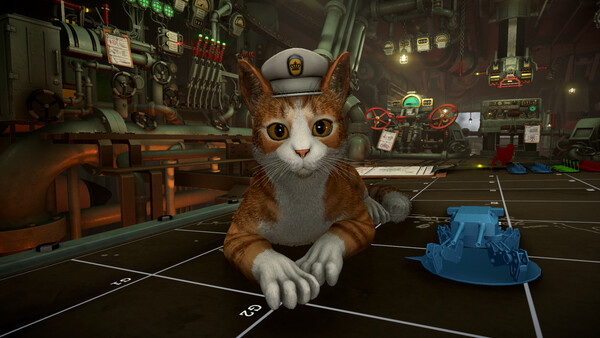 M05
M05  M06
M06  M07
M07  M08
M08 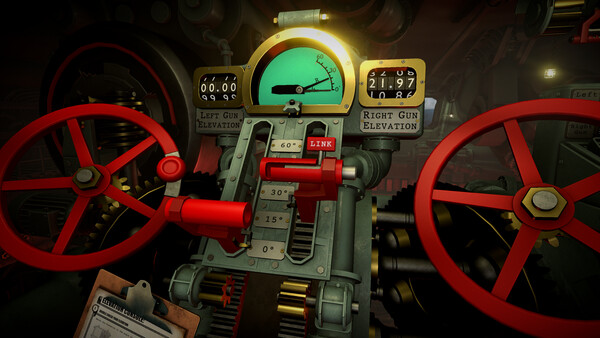 M09
M09  M10
M10 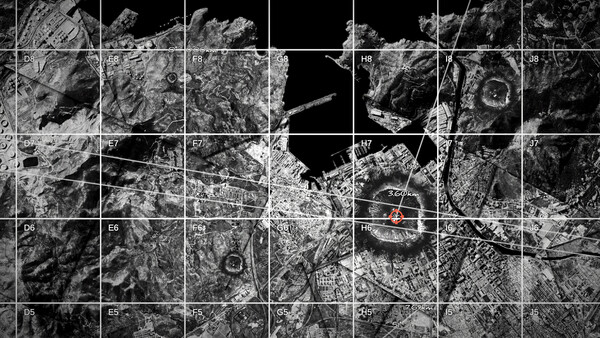 M11
M11  M12
M12  M13
M13 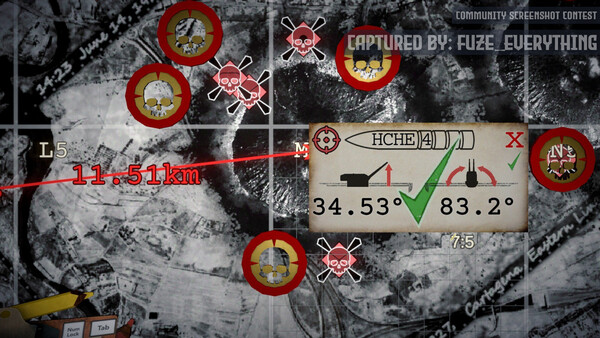 M14
M14  M15
4 ENDINGS
M15
4 ENDINGS
§ Tactical Ballistics & Elevation Calculator
Choose a target range and target type for a shell recommendation, or load verified tutorial values. Charges and elevation always follow the in-game ballistic calculator.
Enter range and target type for a shell recommendation. Charges and elevation depend on your turret position -- use the in-game ballistic calculator.
§ How Iron Nest Actually Works: The 6-Step Loop
Most missed shots do not come from gun mechanical errors; they originate from data contamination at the command desk.
| Step | Phase Name | Operational Action | Critical Gate: Do NOT Proceed Until |
|---|---|---|---|
| 01 | READ | Read complete teleprinter order: Nest coords, shell rules, CBT timer, friendlies. | You know the exact victory & cease-fire criteria. |
| 02 | LOCATE | Plot spotter bearings, distances, reconnaissance markers, and train waypoints. | Target marker and current Nest position are confirmed defensible. |
| 03 | CALCULATE | Draw final line from Nest to Target; record Bearing, Range, Charges, and Elevation. | Firing card is complete and assigned to specific Left/Right gun. |
| 04 | PREPARE | Load selected shell & powder charges, traverse turret, set elevation. | Physical turret state matches the card exactly. |
| 05 | FIRE | Arm active gun, pull firing lanyard, observe flight clock. | Round is away; recoil cycle clears. |
| 06 | CONFIRM | Read impact telegraph; apply corrections or verify target destruction. | High command confirms hit or authorizes stand-down. |
§ Ammunition Types & Penetration Guide
Selecting the correct shell determines mission success far more than arbitrary damage numbers.
| Shell Type | Category | Blast Radius | Penetration | Primary Combat Role | Operator Doctrine |
|---|---|---|---|---|---|
| H High Explosive | Destructive | Medium (45m) | Low | Standard anti-infantry, open guns, soft installations | Default general-purpose destructive shell. Low cost. |
| HCHE Heavy High Explosive | Area Effect | Large (95m) | Low | Clustered soft targets, blind area bombardment | WARNING: Keep friendly clearance > 0.25 km to avoid friendly fire. |
| AP / APHE Armor-Piercing High Explosive | Penetrative | Narrow (15m) | Heavy / Concrete | Hardened pillboxes, armored trains, underground caches | Requires precise direct impact; blast tolerance is low. |
| STAR Illumination Star Shell | Reconnaissance | Illumination (500m) | None | Night operations, target verification, observer corrections | Deploy before destructive salvos in zero-visibility weather. |
| SMK Tactical Smoke Screen | Support | Smoke Screen (120m) | None | Friendly breakout cover, obscuring enemy forward observers | Check wind direction and mission trigger deadlines. |
| TEAR Chemical Position Marker | Specialist | Persistent (60m) | Cover Denial | Exposing camouflaged positions before heavy bombardment | Flushes hidden troops into targetable status (M09 Dead Reckoning). |
Triangulation & The Spotter Bearing Fallacy
Always solve the spatial geometric problem on your plotting board first. Once the target intersection coordinate is pinned, draw your singular firing line from your current Iron Nest position.
>Frequently Encountered Tactical Problems
Q1Why did my shot miss when I used the exact spotter bearing?
A spotter bearing is the angle measured from the spotter’s position to the target. It is NOT the bearing you enter into your turret. You must plot the spotter’s line on your tactical map, find the intersection, and then draw a new line from Iron Nest’s current position to that intersection to get your true turret bearing.
Q2How do I calculate gun elevation without wasting time in CBT missions?
Verified examples: M01 Calibration Fire at 8.91 km uses 2 charges at ~53.5°; M02 Fire & Light at 13.8 km uses 3 charges at ~52.3°. For other ranges, set the charges the mission briefing recommends and dial elevation with the in-game ballistic calculator or a test shot - there is no reliable universal multiplier.
Q3What happens to my firing solution when Iron Nest moves (Emergency Move)?
All previously calculated bearings, ranges, charge counts, and elevations are instantly invalidated because your firing origin changed. You must redraw the final line from the new Iron Nest coordinates to the confirmed target.
Q4What are the four endings in Mission 15 (White Shells)?
The four confirmed endings are: 1. A City in Celebration (PRPG delivery), 2. A City Subdued (Chemical submission), 3. The Road Not Taken (Betrayal/Attack High Command), and 4. A City Silent (Atomic strike).